Table of Contents
flcluster connects to and displays data from DX cluster servers. The three most common server types are AR-Cluster, CC-Cluster, and DX Spider. The program is designed to work stand alone or as a helper application to fldigi. It can transfer call, mode, and frequency data from a spotted QSO to the appropriate fldigi controls. It can query fldigi for the same items when generating a spot report.
Logging on to remote host
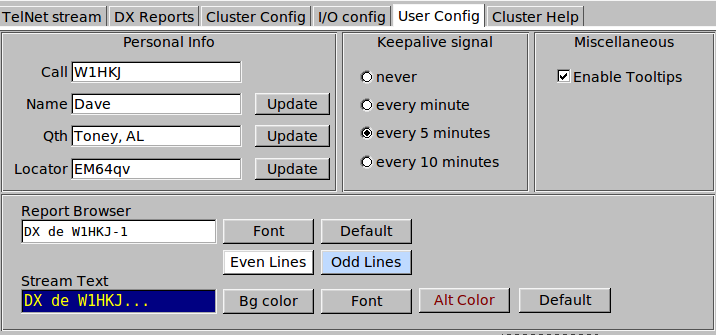
Before any logon you should configure flcluster with your basic personal information. Check the "Enable Tooltlips" if you want a small tooltip popup window to display when the cursor hovers over an flcluster control.
flcluster needs to occassionally send a backspace character (keepalive) to the cluster server. The server echos the backspace. If the echo is not received within a 30 second window then the server connection is assumed to be down. flcluster will attempt to reconnect if this occurs. Receipt of a broadcast message such as a dx spot report within the keepalive time interval will reset the timer. You can set the keepalive interval to 1, 5, or 10 minutes. 5 should probably suffice for most servers and internet paths.

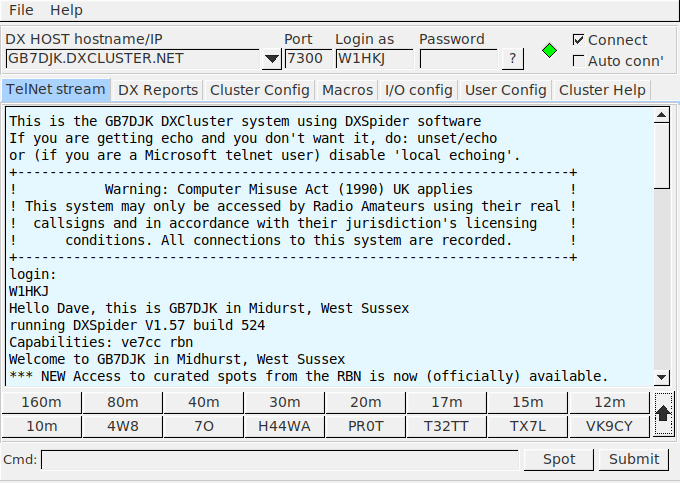
Enter the DX HOST hostname/IP, the Port and your Login call. Then check the "Connect" control. The "Connected" label will be visible only after the remote host connection has been been made.
Immediately after checking the "Connect" control the dxcluster dialog should change to the "TelNet stream" tab. This tab displays the raw telnet data stream, shown here for the GB7DJK server, GB7DKJ.dxcluster.net.
Managing Hosts
You can maintain a list of remote hosts to which you can reliably connect and which provide good information relative to your QRA (Maidenhead locator). The following refers to the Cluster Config tab.
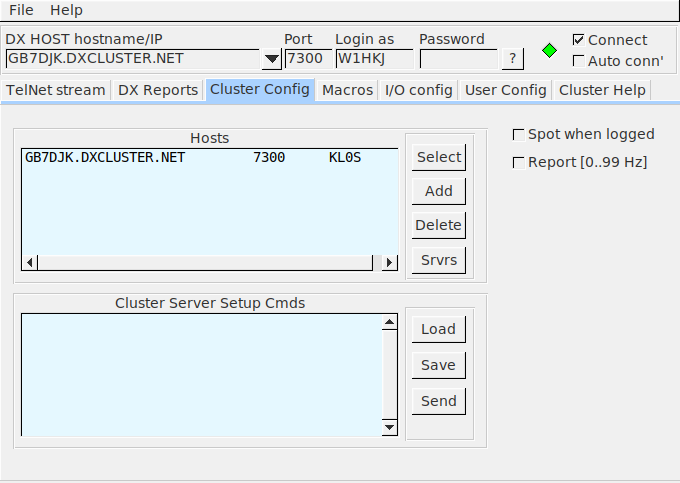
- Add the current host to the list using the "Add" button.
- Highlight an entry and press the "Select" button to transfer the elements to the connect controls.
- Highlight an entry and press the "Delete" button to delete an entry.
Press the "Servers" button if you are unfamiliar with the telnet address and port number of a convenient dxcluster server. flcluster will open up a local html document with a list of recently verified servers:
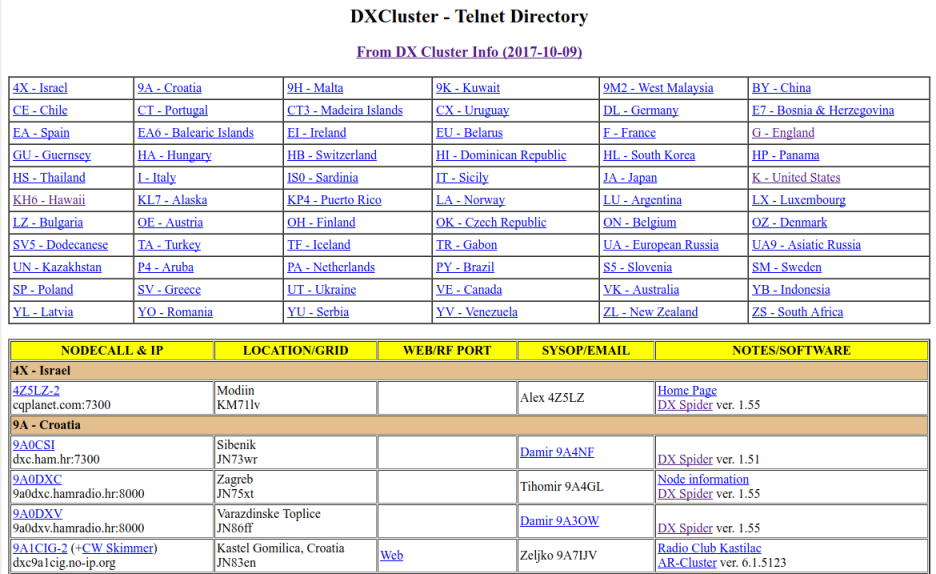
You can configure flcluster to open a www page for the "Srvrs", "AR ?", "CC ?", and "DX ?" buttons. See Server Help URLs.
With the exception of the cluster server setup commands (next section), flcluster will automatically save changes that you make in it's configuration. flcluster saves all setup and other related files to it's working folder:
| Operating System | Folder/Directory |
|---|---|
| Windows | C:\Documents and Settings\<username>\flcluster.files |
| Vista | C:\Users\<username>\flcluster.files |
| Linux | /home/<username>/.flcluster |
| Apple OS X | /Users/User_Login_Name/.flcluster |
Initial Host Commands
Most cluster servers will save your setup commands from a previous telnet session. You can also store those commands in the text editing control, "Cluster Server Setup Cmds."
You can save and reload any number of command sequences. Each is saved in a plain text file in the flcluster files subfolder "Scripts". The default extension for the dxcluster scripts is "dxc". Be sure you add the extension to your saved files. It will not be added if you do not with the result that file may not be visible when you try to load it.
Send the script to the remote server using the "Send" button. The transmission and response will be available for viewing on the "TelNet stream" tab.
Command Macros
Configure each of the 32 command macro buttons. The m1...m32 controls are the button label and the corresponding multi-line text control are the associated server commands. The macro editor is arranged in two banks of 16
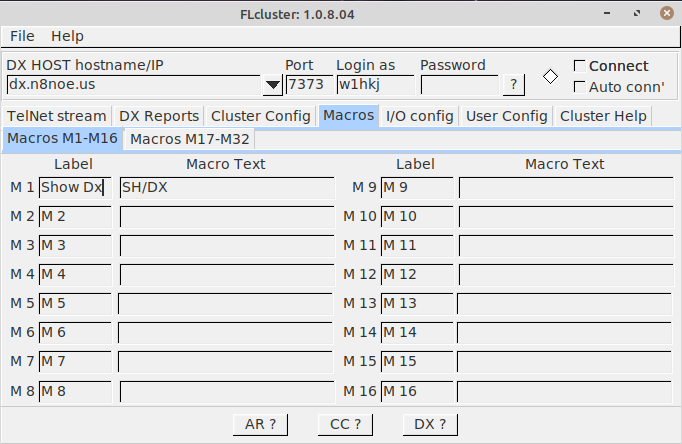
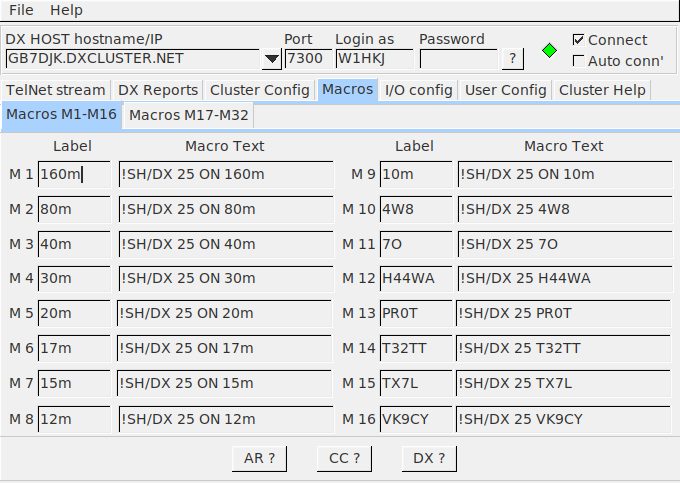
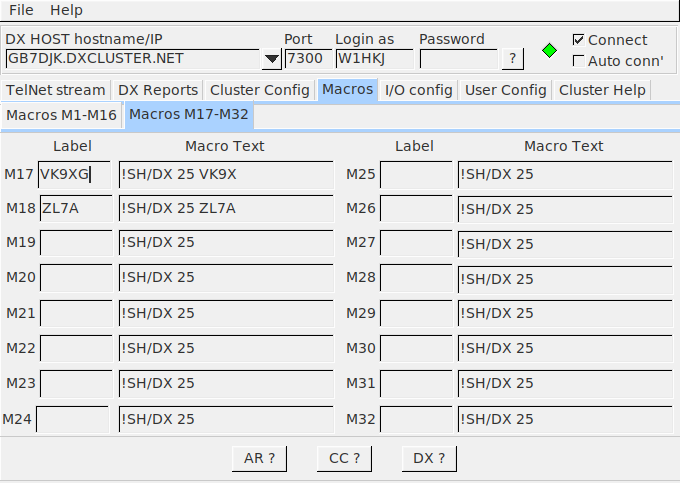
DX cluster command help can be viewed for each of the 3 server types.
Press the corresponding help button:
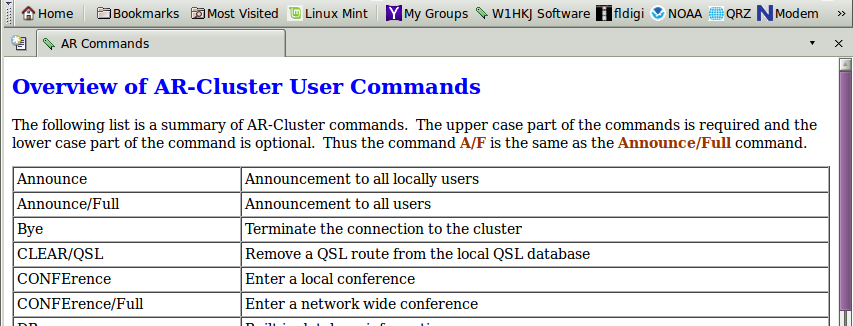

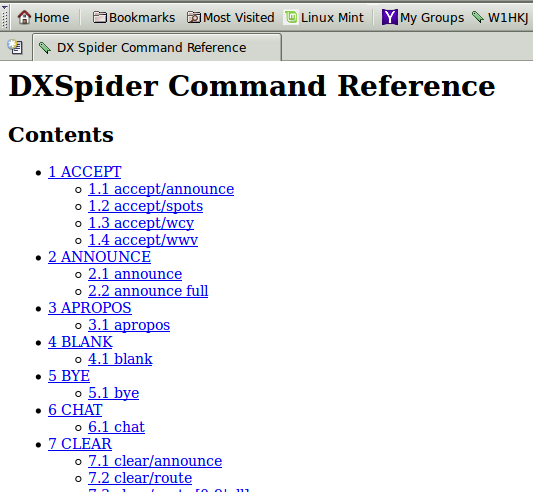
The macro commands are available on the TelNet Stream tab in two banks of 16. Access to bank 1 or bank 2 is obtained using the up/down arrow button to the right of the macro buttons.
Spot when logged
Enable the "Spot when logged" in fldigi if you want to create the spot report whenever you log a contact from the fldigi main dialog. You will still have to review the spot report and submit it with the Submit button. You must be connected to fldigi for this to work.
Auto Connect to Host
Enable the "Auto Connect" if you want to connect to the host when starting flcluster.
DX cluster color scheme
You can change the text colors, and text fonts on the User config tab.

TelNet stream
The raw data to and from the cluster server is shown on the TelNet stream tab. Sent data is in red and received data is in black.
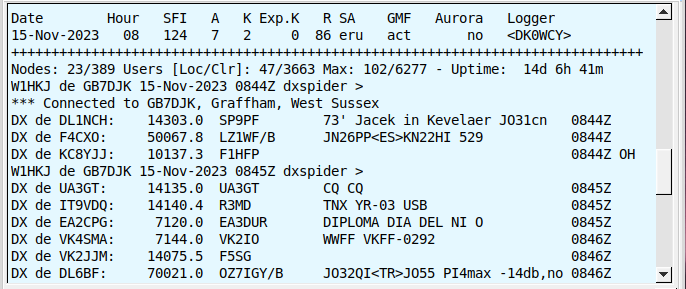
The TelNet stream text display is context sensitive to the right mouse button. You can copy marked text or delete the display contents using the right mouse button.
You can send individual commands to the remote host using the "Cmd:" control. Enter the command, for example: "SHow/FILTER", or "SH/FILTER". Then press the "Submit" button. The command string will be sent to the remote server and you can view the results on the "TelNet stream" tab.
During a logon to the remote host flcluster will send some default commands depending on the host type. If the remote host is either an CC-Cluster or DX Spider host then flcluster will send this sequence:
     set/page 0
     set/name [user name]
     set/qth [user qth]
     set/qra [user locator]
Where the [] values are those entered on the main "User" configuration tab.
Sending prepared (macro) commands or dx spot reports to the remote server is a two step process. Pressing any of the 32 macro buttons will transfer the macro string to the Cmd: control. You can modify the command string before pressing the Submit button.
Submitting a spot
You generate a spot report using the Spot button on the TelNet stream tab. Flcluster will generate a spot report that tries to provide the cluster with some mode details. For example:
dx 3512.4 K2LBM RTTY [85]       mode is RTTY, Mark frequency @ 3512.485
dx 3581.1 K2LBM MFSK16 [50]     mode is MFSK16, center frequency @ 3581.150
dx 3580.8 K2LBM OLIVIA [00]     mode is OLIVIA (8-500), center frequency @ 3580.800
Unfortunately, the ADIF mode specifier does not provide details reqarding mode characteristics. The [0..99] values in the notes field denote the additional Hertz and tens-of-Hertz needed to specifiy the frequency to the nearest Hertz rather than rounded as is usually reported in the cluster spot report. This field is only added to the report if the "Report [0..99 Hz]" control is enabled on the dxcluster configure tab.
You enable the [hz] report in the comments section by checking this configuration control:

Pressing either of the SPOT buttons only adds the spot report to the Cmd: control. You can then modify the spot report before actually submitting the report using the Submit button.
DX cluster reports
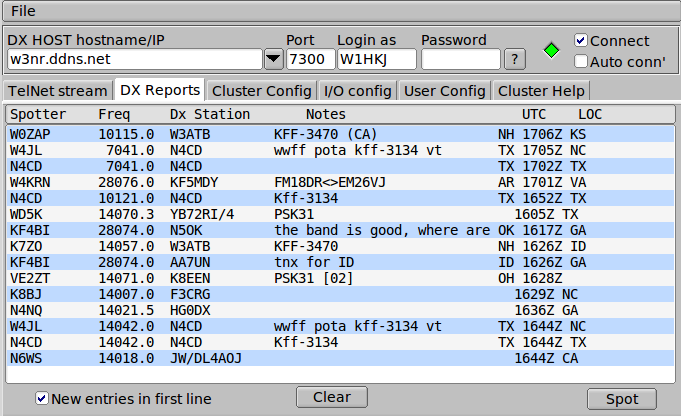
flcluster parses the received data stream and displays each dx spot in a tabular form on the "DX Reports" tab:
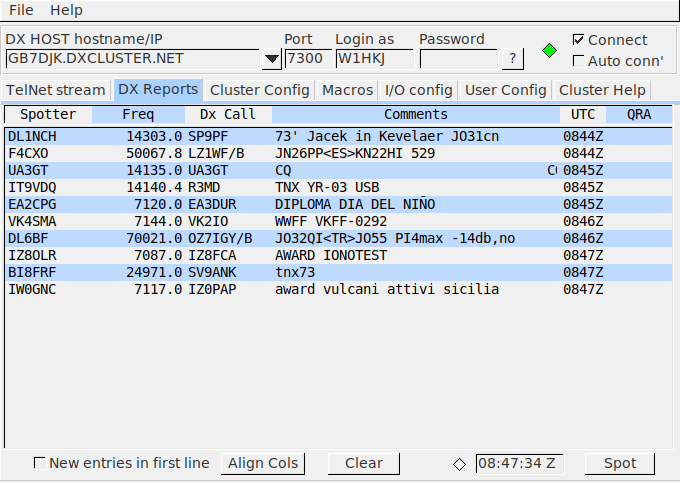
If connected to fldigi, left clicking on a spotted report line will transfer the frequency and mode to fldigi's operating parameters. The mode change is contingent on the mode being reported by the spotter and included in the 'Notes' block.
You can elect to view the reports with the most recent on either the top or the bottom of the list.
I/O Interface
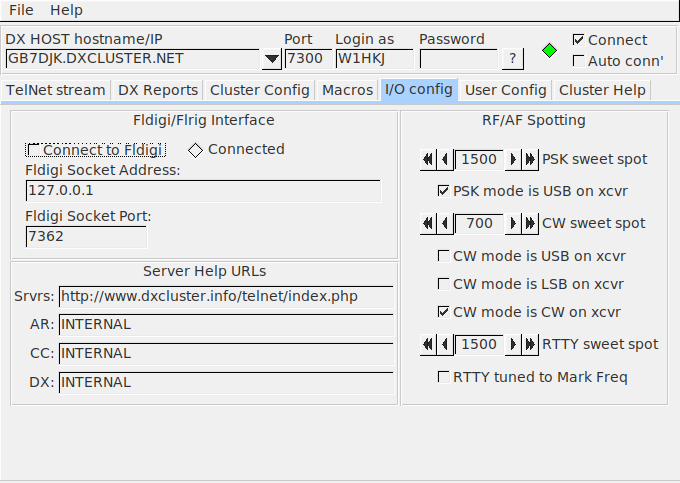
Fldigi Interface
Use the default address and port entries for fldigi, unless you have specifically changed those for the currently running fldigi. flcluster and fldigi do not have to be executing on the same computer. Enter the address as a LAN or WAN URL or socket address as appropriate.
- Socket address: 127.0.0.1
- Socket port : 7362
If fldigi is currently executing, then flcluster will connect as soon as the "connect to Fldigi" box is checked. flcluster will automatically connect to fldigi if you exit flcluster with that box checked.
DX Cluster QSY logic
Set the PSK, CW and RTTY sweet spots to be identical to those in fldigi.
The xcvr set up and RTTY Mark Freq check boxes should be self explanatory. The state of these controls will determine how flcluster calculates the transceiver suppressed carrier / audio (waterfall) track points. The computed values will be sent to fldigi when a spotted QSO is activated on the DX Reports tab.
A cluster spot report line has this format:
-SPOTTER---<-FREQ--><--DX STA---><----------NOTES--------------><-UTC><LOC--
KB8O       14240.0  D66D         up 10 59 Ohio                  2059Z EN81
fldigi will change mode if and only if the NOTES block contains a valid ADIF mode specifier, i.e. CW, PSK31, QPSK63, RTTY, etc.
The QSY logic does not make any assumptions regarding band, sub band in determining the RF carrier and AF injection frequency.
If the fldigi mode is SSB (available on the mode menu), then the QSY is to the FREQ value with no change in the WF tracking frequency.
Otherwise the existing mode or the mode detected in the NOTES is used to determine the QSY values:
CW:   QSY is based on the CW sweet spot
RTTY: QSY is based on the RTTY sweet spot
PSK:  QSY is based on the PSK sweet spot
DIGI: QSY is based on the PSK sweet spot
Most DX reports do not include a mode usage. Ergo it is up to the user to know what mode he or she is interested in. Are you spotting SSB, then change the fldigi mode to SSB. Are you interested in CW? Then change the mode to CW. This is really a KISS approach that is constrained by the very limited amount of data contained in the DX spot report.
Server Help URLs
flcluster can generate a set of html pages for
- Cluster servers - Srvrs
- AR cluster help - AR
- CC cluster help - CC
- DX cluster help - DX
The internal html pages will be viewed when INTERNAL is specified as the respective URL. You can enter a web page for any of the four pages. Use the standard entry that would be in the URL bar of a web browser.
On Line Cluster Help
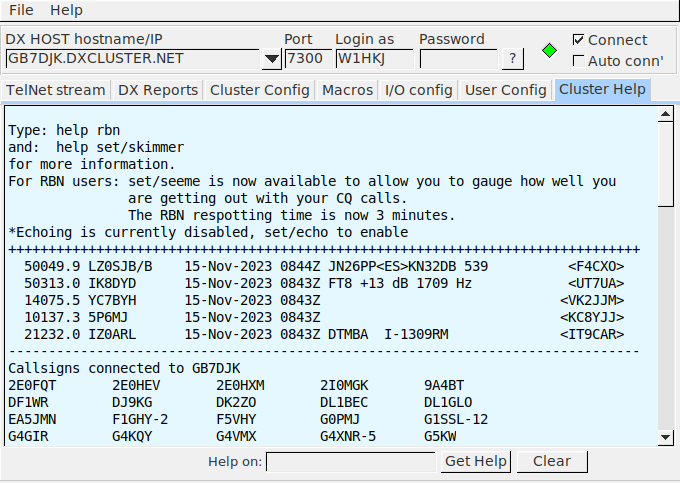
The Help tab provides a convenient access to help obtained directly from the dxcluster server. It is the equivalent of using the HELP command from the Cmd: control. The difference is that the server reply is parsed and presented in a separate text viewer.
